
1. I didn't do this, but it's really important: measure a similar sweater which fits you well. You might have to measure several, and you might have to go to a store to do it (I, myself, have no other sweaters like this). You want to know length of sleeves (keep in mind that this is a drop-shoulder style), chest measurement (not your own, a thick sweater that fits the way you like it), and the length of the sweater.
Also, you'll want to make a neckline template. Eventually you will trace this onto your not-quite-finished sweater, so you will want something more tangible than measurements. You will still want some measurements, especially the width of the neckline. Since you're already writing things down (which puts you way ahead of me), add the depth of the neck to your notes. Just in case.
2. Knit the sleeves first. Their instructions suggest this, and they are right. Sleeves make for great circular swatches. Several inches into the first sleeve you can decide if things are going well, and if you hate the gauge you are getting, ripping it out and starting over with a different size needle won't be so painful. I marked the increases on the chart. Very helpful.
3. Cast on the number of stitches which will get you closest to the chest measurement you took in step one. I used markers for the beginning of the round and for the halfway mark. This was really helpful for making sure I hadn't screwed up the chart. I did not bother with a steek stitch (a purl stitch which you will end up cutting) in the ribbing. That decision turned out to be fine.
4. Increase for the body. At this point you will add a steek stitch. I added one halfway between my two markers. Stef! had read a suggestion to use the beginning of the round as the steek point, which makes a lot of sense -- it's pretty ugly there, so why not just cut it? I wish I had. I also wish that rather than adding an extra stitch, I had used an existing stitch. Now that the sweater is finished, it doesn't matter at all, but while knitting, it threw off the centering of the pattern and that bothered me a lot. I don't know why.
5. Measure across the top of your sleeves (which should match). Subtract this measurement from your overall length. This number is how long you have to knit. Once you get to that length, add steek stitches. These added stitches did not bother me at all since they didn't come in the middle of the pattern. However, if you follow Stef's suggestion, the added stitches will be in the middle of the pattern.
Actual Finishing
6. Machine stitch two fairly fine straight lines on either side of the purl rows at the center front and the arm holes (don't forget to stitch under the arm holes, as well). This was the hardest part for me, since I don't know how to use my sewing machine very well. It involved a lot of jammed threads, threading and re-threading the machine. Maybe some swearing, too.


7. Now, remember that neckline template you made in step 1? Slap it on your sweater and use chalk to draw around it (I have read some hints that say the neckline is a third of the width and to use a plate as a template. DON'T! Your neckline could end up too wide and deep. Ask me how I know). Take it back to the machine and sew two lines along the curve (I was very concerned about sewing a curve, but the machine and I had become allies by this point, so it was very easy).
The sucky instructions say: "Machine stitch 2 fairly fine straight stitches rows along the curve. Use stretch stitch or zig zag if you have them but sew curve once only." Is is just me, or could they have said that more clearly? In any case, if you are making a cardigan, the stretchiness of the neckline doesn't matter as much.
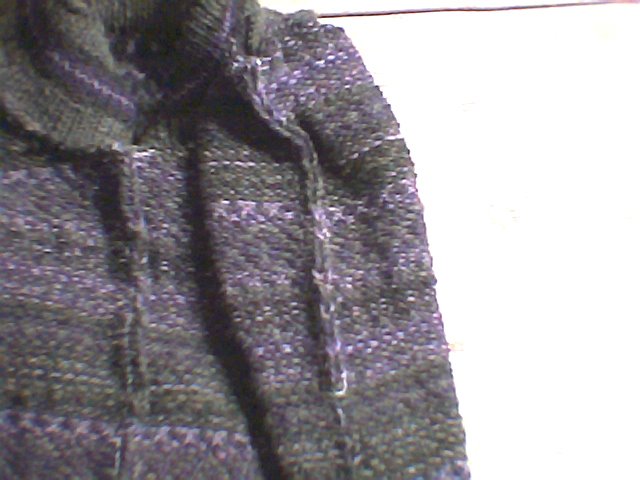
8. Cast off the shoulders; I used three needle bind-off. Cut open the arm holes. It's ok. You can do it; I did and the knitting didn't fall apart:

9. Sew in the sleeves.
10. Pick up and knit the button bands. Obviously, you are only picking up to the neckline, but you knew that. I did the button band first, then measured and placed markers for the buttons. Then I picked and knitted the button hole band, spacing the holes evenly (I did a cast two off in the middle of the band, then cast two on in the next row). I managed to muck up the button band, so while theoretically the button markers should have helped to space the holes, they didn't for me. I re-did that band and it is better, though not perfect. I used a 3-1 pick up rate (pick up 3 rows, skip a row); the instructions recommend making a 24 stitch mini band before committing to the entire thing. It's a good recommendation, but I think more stitches would be better -- I didn't end up using the pick up rate I used for the mini-band.


11. Pick up and knit the collar. I knit a fold over type (3 inches or so), which covers the depth of the neck reasonably well. Looking at the pictures on Philosophers website (the picture which came with my kit has long since disappeared), if you want to do a crew neck, you should do this step before the button bands and then pick up the bands along the collar. I, ummm, well, I just now looked at the picture, so pretty much faked the collar. Whatever. I'm good with what I did, except I will probably take the cast off out and knit a few more rows.
12. Now cut out the neck and cut open the front. Sew on buttons. Weave in ends. I trimmed the extra long steek edges, but otherwise am leaving them alone. If they really bug you, and you are maybe a little insane, you could knit facings for them, but I'll leave that to your psychotic imaginations.
13. Wash. I soaked it the washing machine with that no-rinse wool stuff, Euclan, and spun the water out. I love having a washing machine in my basement! Lay it flat to dry. This magically fixes many many problems. In my case it was the oh-crap-I-made-it-too-short problem (see taking good measurements in step one).


1 comment:
Lee,
You're the best! Thanks so much for making some sense out of this whole thing. This doesn't mean that I'll have the courage to finish mine (it's still hiding in the closet), but at least I know the instructions are there.
S
Post a Comment